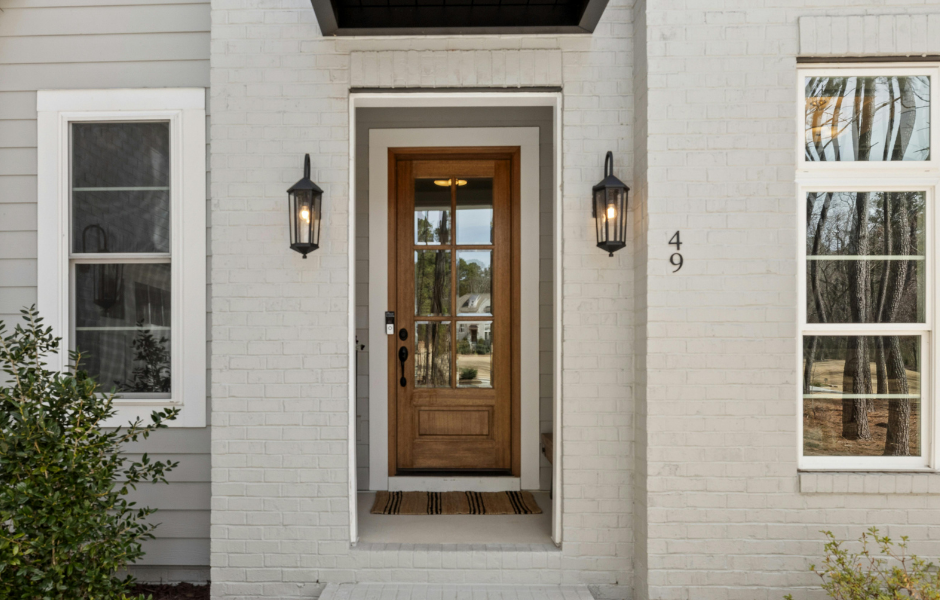
Replacing an exterior door is one of the highest-impact upgrades you can make to a Florida home. A new entry door improves curb appeal, cuts your energy bill, seals out humidity, and (if you choose an impact-rated unit) protects your home during hurricane season. Whether you are in Miami-Dade, Tampa, Orlando, or anywhere else in Florida, the installation itself is entirely doable as a weekend project for a confident DIYer, but the details matter. Get the rough opening wrong, skip the flashing, or misalign the threshold and you will be chasing water leaks and drafts for years.
This guide walks through exactly how to install an exterior door from start to finish, with a focus on what actually matters across Florida’s climate, from Miami-Dade and Broward through Tampa Bay and Orlando: moisture, wind load, and building code compliance.
Before You Start: What Kind of Door Are You Installing?
There are two installation scenarios, and they require different approaches:
- Pre-hung door: comes with the door already attached to a new frame. Easier to install, more forgiving, and what we recommend for 99% of DIYers.
- Slab door: just the door itself, no frame. You will reuse the existing frame and hinges. Only choose this if your existing frame is perfectly square, dry, and rot-free.
Whether you are in Miami-Dade, Broward, Tampa, St. Petersburg, Orlando, or Kissimmee, we strongly recommend an impact-rated pre-hung door. It satisfies the Florida Building Code wind-load requirements and you will not need separate hurricane shutters for that opening.
Tools and Materials You Will Need

Tools
- Tape measure
- 4-foot level
- Drill/driver with screwdriver bits
- Hammer
- Pry bar
- Reciprocating saw or oscillating tool
- Utility knife
- Caulk gun
- Shims (cedar, pack of at least 20)
- Safety glasses and gloves
Materials
- New pre-hung exterior door (impact-rated if in a wind-borne debris zone)
- Self-adhesive flashing tape (6-inch)
- Exterior-grade silicone or polyurethane caulk
- Low-expansion spray foam (door and window type only, never standard expansion foam)
- 3-inch exterior screws (for anchoring the jamb to the framing)
- Metal drip cap
- Threshold sealant
- Weatherstripping (if not included with the door)
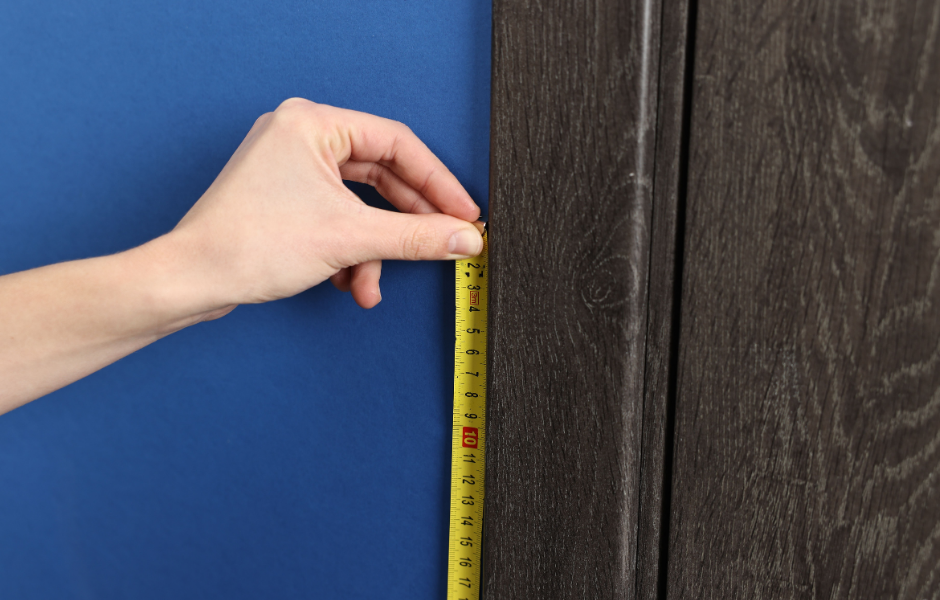
Step 1: Measure the Rough Opening
The rough opening is the framed hole in your wall, not the door itself. Standard exterior doors are 36” x 80”, which means the rough opening should be approximately 38.5” wide by 82.5” tall. Measure your opening in three places for both width and height (top, middle, bottom) and use the smallest number.
If your opening is out of square by more than 1/4”, you will need to fix the framing before installing the new door. Skipping this step is the number one reason DIY door installs fail.
Step 2: Remove the Old Door
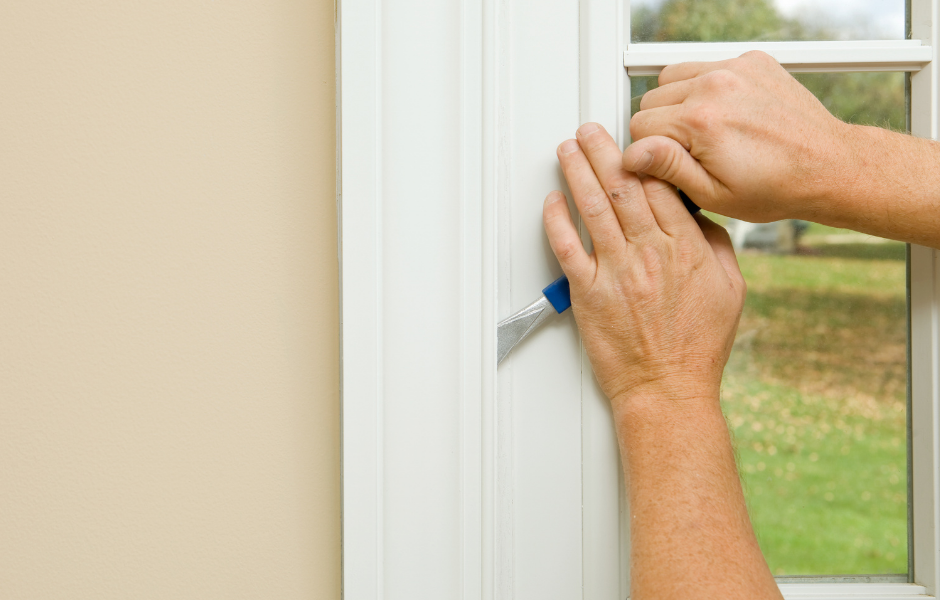
- Score the interior caulk line around the trim with a utility knife, then pry the interior casing off carefully, since you may want to reuse it.
- Remove the hinge pins and lift the old door out of the frame.
- Cut through any screws or nails holding the old jamb in place using a reciprocating saw with a metal-cutting blade.
- Pry the old frame out of the rough opening. Work slowly to avoid damaging the surrounding drywall and siding.
- Pull out any old nails, screws, or staples. Scrape away old caulk and foam from the rough opening.
- Inspect the subfloor, sill plate, and framing for rot. Any soft or discolored wood needs to be replaced before continuing.
Across Florida, from coastal Miami-Dade to inland Orlando and the Tampa Bay area, rotted framing around exterior doors is extremely common because of humidity and wind-driven rain. If you find more than minor surface damage, stop and call a professional. A door installed over rotten framing will fail, usually within a year, no matter how perfect the rest of your work is. JDM Sliding Doors offers full-service door replacement and repair throughout Miami-Dade, Broward, Tampa, Orlando, and the rest of Florida if you need help at this stage.
Step 3: Prep the Rough Opening and Install Flashing
This is the most important step for long-term weather resistance. Skipping flashing is why so many homes leak around exterior doors.
- Clean the rough opening thoroughly. The surfaces need to be dry and dust-free for flashing tape to adhere.
- Apply a bead of sealant along the subfloor where the door threshold will sit.
- Cut a piece of flashing tape about 12 inches longer than the sill width. Apply it to the sill, running it up the jamb sides by 6 inches on each side.
- Install the sill pan (if your door came with one) and seal the edges.
- Leave the side and head flashing for after the door is installed. It goes on over the jamb flange, not under it.
The U.S. Department of Energy notes that proper flashing and air sealing around exterior openings is one of the highest-ROI weatherization steps you can take, often paying for itself through reduced cooling costs within a few years in humid climates.
Step 4: Dry-Fit the New Door
Before committing, set the pre-hung door into the rough opening and check the fit. It should sit on the threshold with the jamb flush against the wall sheathing. Do not remove the shipping brackets that hold the door closed, because they keep the jamb square during installation.
Confirm there is at least 1/4” of space on both sides and the top for shimming. If the door will not fit, the rough opening is too small and needs to be widened. If there is more than about 3/4” of gap, you will want to add trimmer studs to tighten it up.
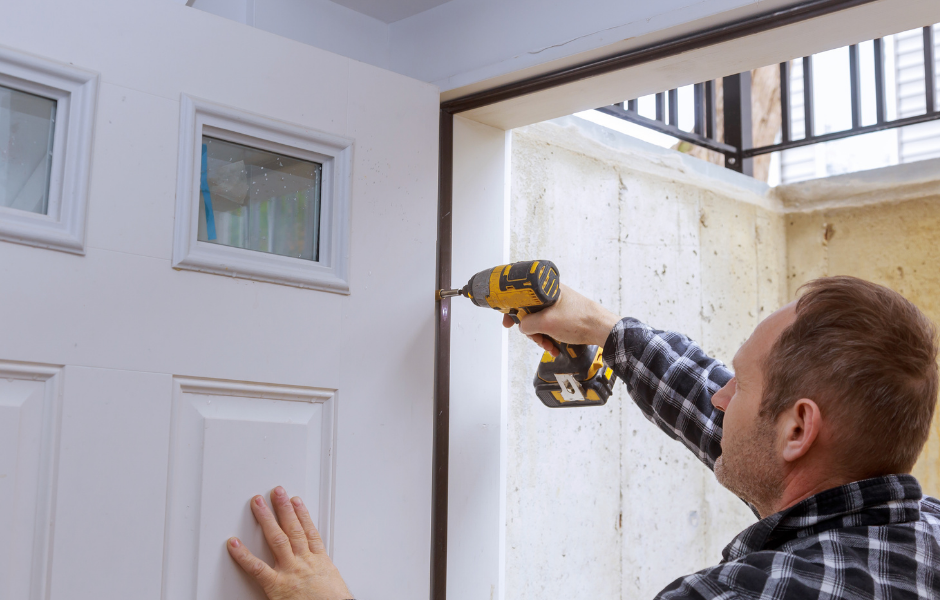
Step 5: Shim and Plumb the Door
- Slide the door into position with the threshold fully seated on the sill sealant.
- Starting at the hinge side, insert pairs of shims behind each hinge location. Tap them in until the jamb is snug but not bowed.
- Check plumb with a 4-foot level on both the interior and exterior faces of the hinge jamb. Adjust shims until perfectly plumb.
- Drive one 3-inch exterior screw through the jamb, through the shim, and into the framing at each hinge location. Do not overtighten, or you can crush the jamb.
- Shim and screw the strike-side jamb the same way, checking that the reveal (gap between the door and jamb) is consistent top to bottom.
- Shim the head jamb in two or three spots. Check that the door opens and closes smoothly before driving any more screws.
A properly shimmed door should swing smoothly, latch without being forced, and show a consistent 1/8” gap all the way around. If the gap is uneven, the door is out of plumb. Adjust your shims before continuing.
Step 6: Insulate and Seal

- From the interior, spray low-expansion foam into the gap between the jamb and the rough framing. Use only door and window foam: standard expansion foam will bow the jamb and prevent the door from closing.
- Let the foam cure fully (typically 30 to 60 minutes) before trimming excess with a utility knife.
- On the exterior, apply self-adhesive flashing tape over the side jamb flanges, overlapping the sill flashing.
- Apply flashing tape over the head jamb flange last, overlapping the side flashing by at least 2 inches.
- Install a metal drip cap above the door, tucked behind the siding or house wrap.
- Run a bead of exterior-grade silicone or polyurethane caulk around all three exterior edges of the jamb (sides and top). Leave the bottom uncaulked so any water that gets behind the trim can drain out.
Step 7: Install Hardware and Trim
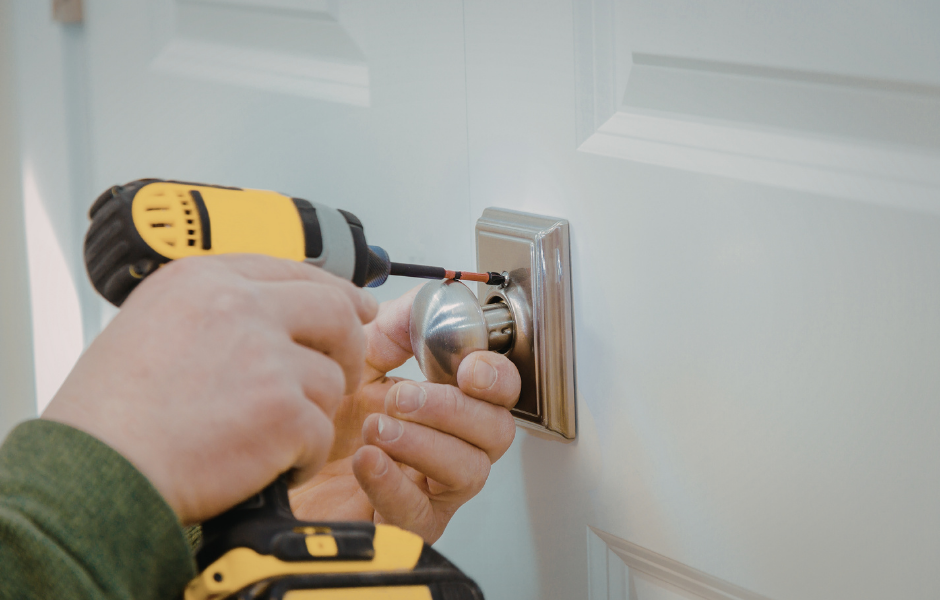
- Install the lockset and deadbolt according to the manufacturer’s instructions.
- Test that both the latch and deadbolt engage smoothly. If either is binding, your door is slightly out of plumb and the strike plate needs adjustment.
- Reinstall interior casing or new trim. Caulk and paint as needed.
- Check the threshold adjustment screws. Most modern thresholds have 4 to 6 screws that raise or lower the seal. Adjust until the weatherstripping just kisses the bottom of the door without dragging.
If you are replacing a door that had issues with the lock itself, our guide on door lock repair and replacement covers when to replace the whole assembly versus just the strike hardware.
Step 8: Test Everything
- Open and close the door at least a dozen times. It should swing smoothly without sticking or self-closing.
- Check that the latch and deadbolt engage without forcing.
- Look for daylight around the perimeter with the door closed. Any light means an air leak.
- Run a garden hose over the door for 5 minutes and check the interior for any water intrusion.
- Verify the door locks from both the inside and outside before considering the job done.
Florida Building Code: What You Need to Know

Exterior doors in Florida are subject to the Florida Building Code’s High-Velocity Hurricane Zone (HVHZ) requirements in Miami-Dade and Broward counties, and Wind-Borne Debris Region (WBDR) requirements across most of Tampa Bay, Orlando, and the rest of the state. In plain terms:
- Exterior doors must be tested and approved to resist specific wind pressures (typically +/- 50 psf or higher depending on location)
- Doors must either be impact-rated or protected by hurricane shutters
- Installation must follow the manufacturer’s published Florida Product Approval instructions; deviation voids the rating
- A permit is required for most exterior door replacements, and an inspection is required after installation
You can verify whether a specific door model has Florida Product Approval at the Florida Building Commission’s product approval database. If a door is not listed, it cannot legally be installed as an exterior door in a wind-borne debris zone.
Common Mistakes That Ruin a DIY Door Install
- Skipping the flashing: the door will leak within the first heavy rain.
- Using standard expansion foam: it bows the jamb and prevents the door from closing. Use door and window foam only.
- Over-tightening the screws: crushes the jamb and warps the reveal.
- Forgetting to check plumb on both faces: a jamb can be plumb on one face and twisted on the other.
- Caulking the bottom of the door: traps water inside the frame and rots the sill.
- Installing a non-impact door in a HVHZ: code violation, insurance issue, and a safety hazard. The same applies in the Wind-Borne Debris Regions covering Tampa Bay and Orlando, where requirements are slightly less strict than HVHZ but still enforced.
When to Call a Professional Instead
- The rough opening is out of square by more than 1/2 inch
- You find rot in the framing, subfloor, or sill plate
- The door is oversized, arched, or has sidelights
- You are installing in a HVHZ and are not comfortable with permitting and inspection
- The door is part of a larger renovation involving siding, stucco, or drywall work
- You are installing a French door, sliding patio door, or automatic door
If any of these apply, hiring a pro is almost always cheaper than fixing a bad install later. JDM Sliding Doors handles exterior doors, sliding glass doors, pocket doors, barn doors, and impact windows across Miami-Dade, Broward, Tampa, Orlando, and the rest of Florida, with free on-site estimates and warranties on parts and labor.
The Bottom Line
- Always choose pre-hung over slab for DIY installs
- In South Florida, always go impact-rated
- Measure the rough opening three times before buying a door
- Flash the sill before the door goes in, then flash the sides and head after
- Use only low-expansion door and window foam
- Never caulk the bottom of the exterior trim; water needs a way out
- If you find rot, stop and call a pro
Need a professional exterior door installation in Miami-Dade, Tampa, Orlando, or anywhere in Florida? Contact JDM Sliding Doors for a free on-site estimate. We handle everything from rot repair to Florida Product Approval documentation, with same-day service available.